
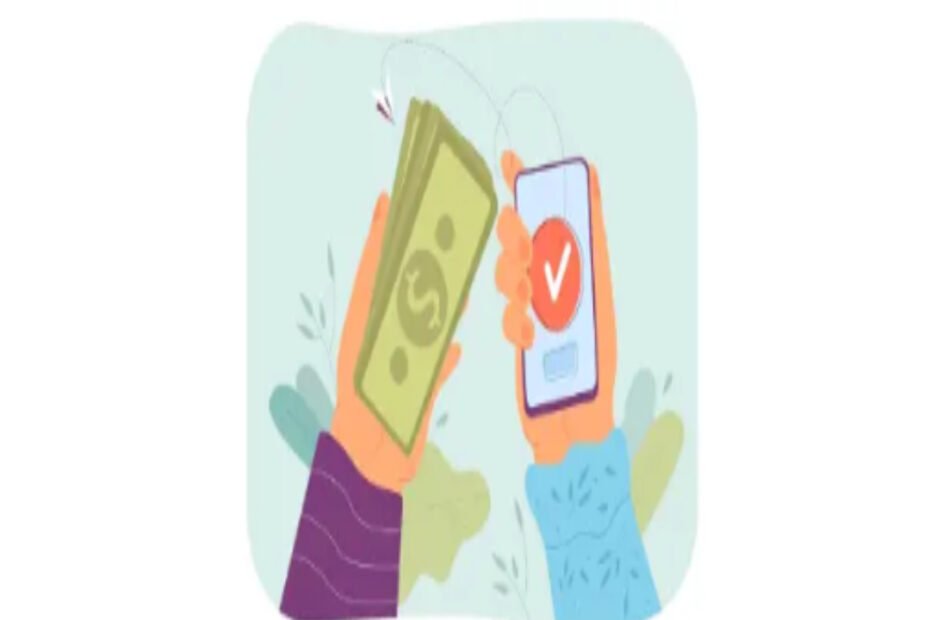
Learning how to set up Pix on WhatsApp Business is essential for companies that want to transform conversations and customer service into new business opportunities, offering customers a practical and secure way to pay without having to leave the app.
In recent years, Pix has established itself as the main payment method in Brazil and, according to data from the Central Bank, the tool is already used by 76.4% of the population.
In this guide, we will teach you how to set up Pix on WhatsApp Business and show you how this integration can help increase conversions, reduce friction, and professionalize your customer service flow. Let’s get started!
What is Pix on WhatsApp Business?
This is a feature that integrates the Central Bank’s instant payment system, Pix, into the WhatsApp environment. This allows customers to complete their purchases on the same channel, without having to be redirected to a checkout page or app.
By adopting this functionality, the company can send payment requests, share QR Codes, or provide a payment button. This helps reduce friction in the purchase journey, increases the conversion rate, and brings agility to both the seller and the consumer.
How to set up Pix on WhatsApp Business?
Activating and configuring this feature is a relatively simple process. Here’s how to set it up, regardless of the device you’re using:
Step 1: Add the Pix key
First, you must add a Pix key directly through the app on your Android/iOS device or WhatsApp Web:
In the Android/iOS app:
- Open a conversation and tap the Attach icon (paperclip).
- Then tap the payment symbol ($).
- Select the Add Pix option.
- Now enter your Pix key details: type (CPF, CNPJ, email, or phone number), key, and name.
- To finish, tap Add Pix key.
On WhatsApp Web:
- Click Tools > Payments or, in a conversation, click the Attach icon (plus sign) and select Pix.
- Enter your Pix key details: type, key, and name.
- Click Add Pix key to finish.
Important: You can only have one Pix key at a time, which will be synchronized across all devices.
Step 2: Share your Pix key with customers
After adding the key, you can share it in three ways:
1- As a quick response:
- In a conversation, type / in the text field.
- Tap Pix, confirm the key, and send.
2- As an attachment in conversation:
- Tap the Attach icon (paperclip or plus sign) and select Pix.
- Confirm the key and send.
3- As a charge linked to the catalog:
- Set up a catalog with your products or services.
- In the conversation, click Attach > Charge or the add item icon.
- Select the products, review the details, and send the charge via Pix.
Keep in mind that in certain scenarios, Pix may not be available, such as:
- If the sender or recipient does not have a Brazilian phone number.
- If the conversation is in a group.
- If you are alone in the conversation.
Boost your sales with JivoChat for WhatsApp
Want to transform your customer service and boost your sales? Then connect your WhatsApp Business to JivoChat and start engaging customers in a personalized way, sending targeted campaigns, and sharing news about your company’s products and services.
Our solution centralizes all conversations from channels such as WhatsApp, online chat, social media, and email in one place, allowing your team to respond faster and more efficiently.
In addition, we also offer features such as chatbots, ready-made messages, and an integrated CRM to manage tasks, track team performance, and offer 24/7 customer service. This allows you to improve your company’s customer service experience, build customer loyalty, and increase your conversion rates.
Have you learned how to set up Pix on WhatsApp Business?
Now that you know how to add and share your Pix key, it’s time to devise new strategies to take advantage of all sales opportunities, increase service efficiency, and ensure that your customers have access to a simple, fast, and secure payment method.